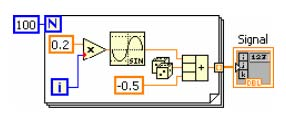
Consider the function in Figure Figure 11.1 where a set of numbers in a one-dimensional array represents the resulting noisy signal is to be written to a file. This section will outline the steps required to create files.
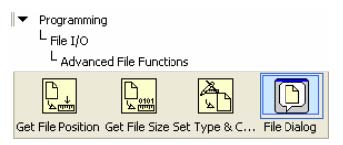
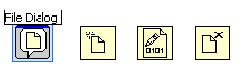
Create a new G program, right click in the G programming window and select File Dialog from the Functions »Programming »File I/O »Advanced Functions menu. Drag and drop the File Dialog function onto the G programming window.
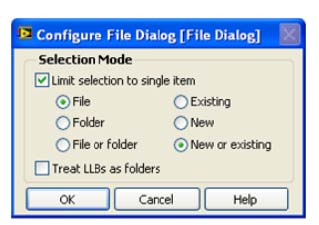
The Configure File Dialog dialog box automatically appears to configure the function. Accept the default configuration shown in Figure Figure 11.3 to create a single file by clicking the OK button.
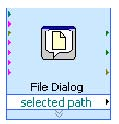
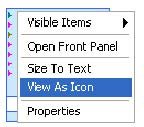
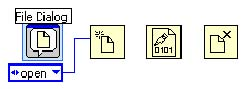
The resulting diagram after closing the configuration dialog box is shown in . Optionally, right click on File Dialog and select View As Icon from the pop-up menu. This will save some real estate in the G programming window.
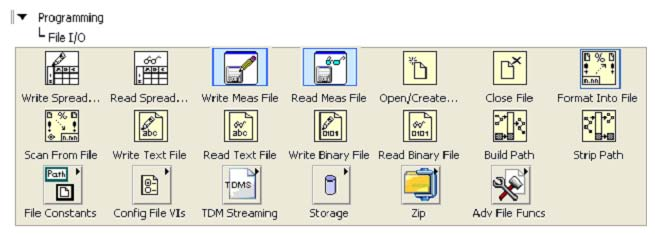
From the Functions »Programming »File I/O menu select Open/Create File, Write Binary File and Close File functions.
Arrange the File I/O operations as shown in Figure Figure 11.7.
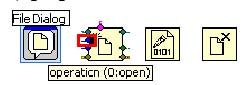
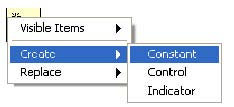
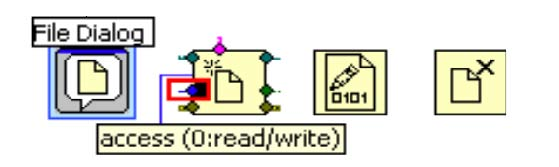
Right click on the operation (0:open) terminal of the Open/Create File function (highlighted in Figure File Create Operation).
Select Create » Constant from the pop-up menu.
Arrange the diagram to look as in Figure Figure 11.10.
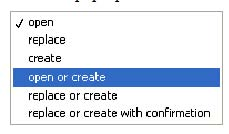
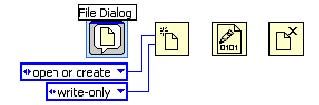
Click on the down arrow in the operation constant just created and select open or create from the pop-up menu.
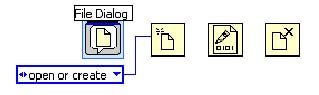
The resulting updated operation constant value is shown in Figure Figure 11.12.
Repeat the process to create a constant for theaccess (0:read/write) terminal (highlighted in Figure Figure 11.13).
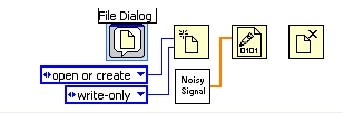
Set the constant to write-only. Re-arrange the block diagram to look like the diagram shown in Figure Figure 11.14. At this point, the file is set to create a new file for writing.
Get the Noisy Signal function and wire its output data to the Data terminal of the Write to Binary File function.
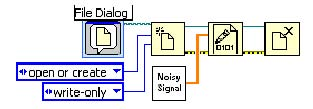
Complete the diagram by connecting the Open, Write and Close file operations as shown in Figure Figure 11.16.
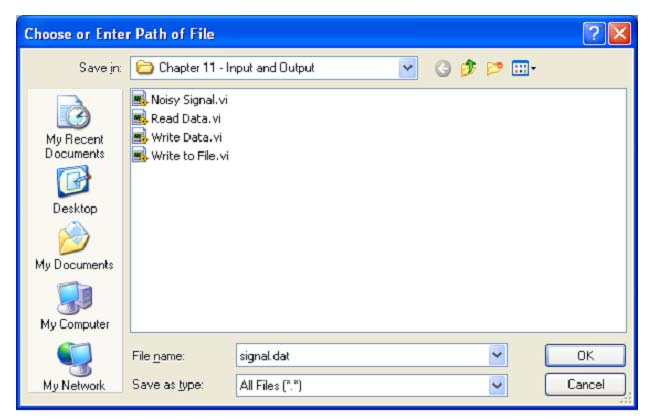
When this G program is executed, the standard file dialog box appears. Name the file to be written signal.dat.
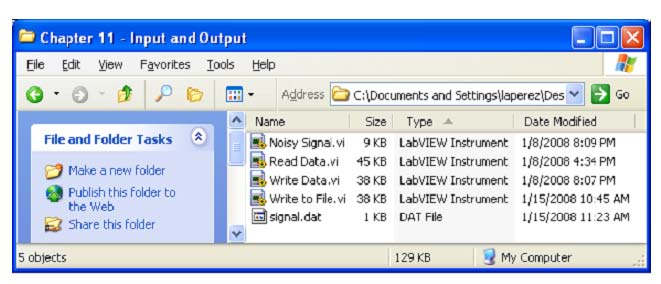
Once the program completes executing, the signal.dat file is created and located in the location indicated by the path selected.
- 2218 reads