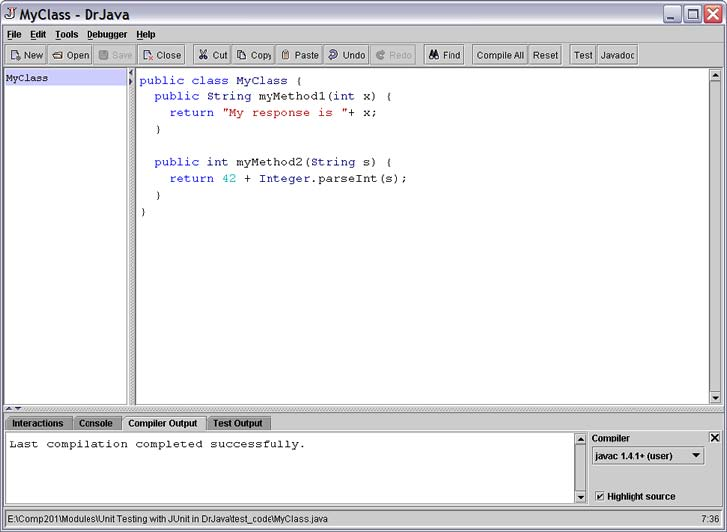
Suppose we have a class such as the following that we wish to test. Note that class is public and that the method we wish to test is also public.
Sample Code To Be Tested
In DrJava, select "File/New JUnit Test Case...". Enter a name that is descriptive of the test(s) you wish to make. A recommendation is to use the class name being tested prepended with "Test_", such as "Test_MyClass". This enables all your test classes to be easily identified, DrJava will then automatically create a valid JUnit test class, such as below.
Autogenerated Unit Test Class

Rename the auto-generated "testX()" method to something more descriptive of the particular test you'd like to perform. The new name must start with "test" and must return void and take no input parameters. You can create as many test methods as you wish to test your code. JUnit will automatically run all methods that begin with "test" as test methods. Typically, a single test method will test a single method on the class under test. There are situations however where a single method under test may require several test methods to properly test its full range of operation. In the code that follows, the testX() method has been renamed to "test myMethod1()".
- 3859 reads