Available under Creative Commons-ShareAlike 4.0 International License.
Let’s type the following at the command prompt:
b = [1 2 3 4 5]
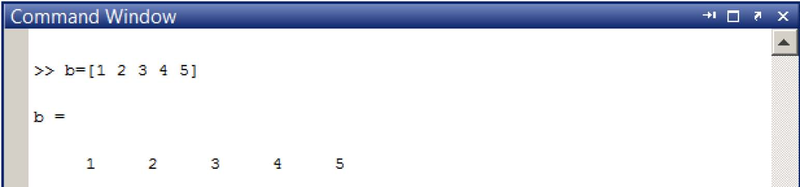
Figure 2.3 Assignment of a row vector quantity.
We can also use the New Variable button to assign a row vector. In the tool strip, select Home > New Variable. This action will create a variable called unnamed which is displayed in the workspace. By clicking on the title unnamed, we can rename it to something more descriptive. By double-clicking on the variable, we can open the Variable Editor and type in the values into spreadsheet looking table.
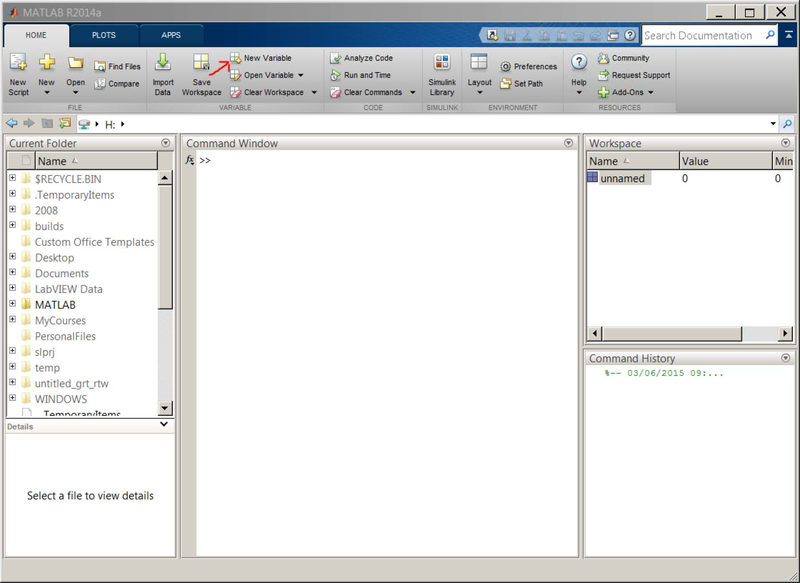
Figure 2.4 Using the New Variable button in the tool strip.
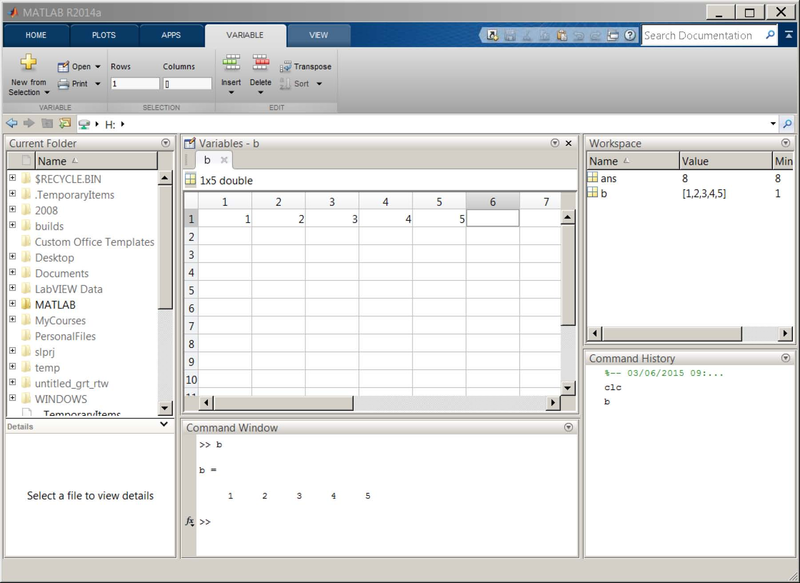
Figure 2.5 Assignment of a row vector by using the Variable Editor.
- 瀏覽次數:1928