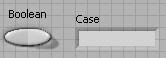
In the Front Panel window, select a Boolean control and an output string.
Arrange the diagram to look as in Case Selection G Diagram.
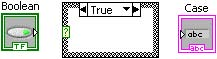
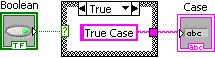
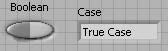
In theTrue case, add a string constant containing True Case.

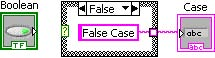
To select the False case, click on the selector label down arrow and select False from the pop-up menu. You can also cycle through the cases by clicking the next (right) or previous (left) arrows.
Selecting False Case 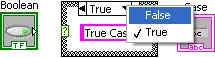
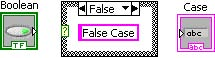
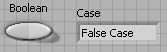
In the False case, add a string constant containing False Case.
Wire the string constant in the case structure to the output string terminal.
Select theTrue case and wire the string constant to the case structure tunnel. Complete the diagram as shown in Completed Case Diagram.
It is important to note that all instances in a case structure must be wired to enable data to flow from thecase structure.
In the Front Panel window, toggle the Boolean input control and run the program.
- 2011 reads